以前新製品情報の通知の話を書いたIFTTTにMaker Channelというチャンネルができたというアナウンスがありました。Raspberry PiやArduinoを簡単につなげられるチャンネルということなので、早速試してみましょう。
まずIFTTTのサイトにログインして、右上の「Channels」を選びましょう。

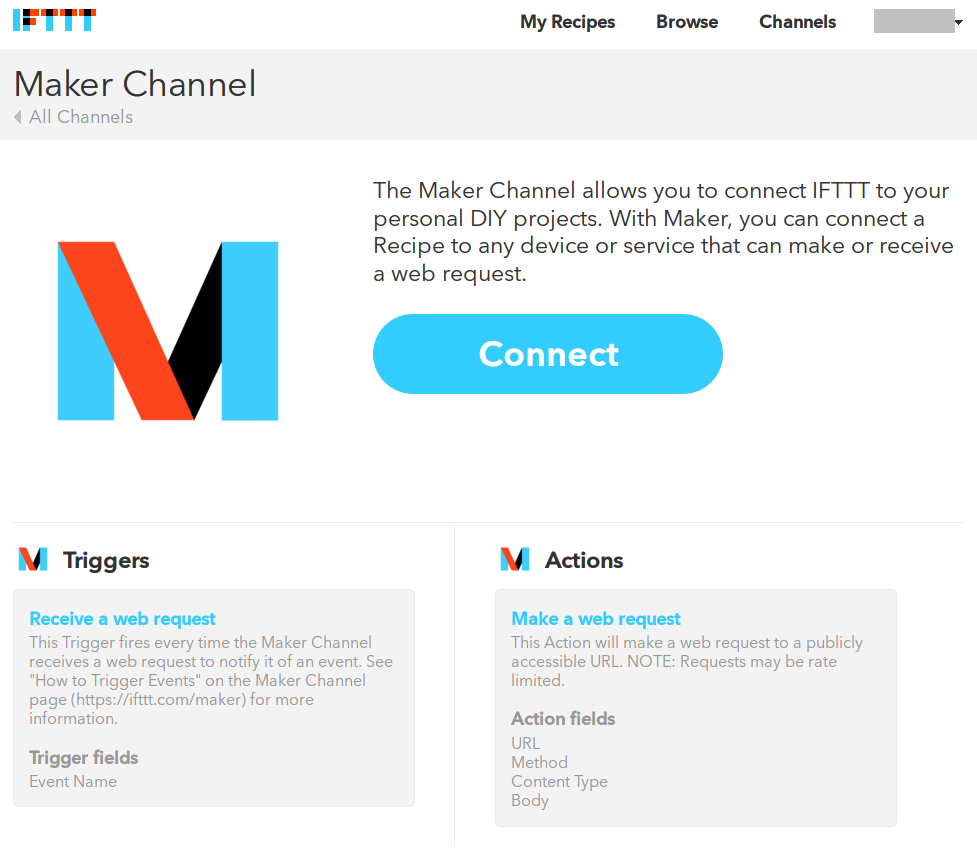
するとチャンネルの一覧が出てきますから、Search欄に「maker」と入力してMaker Channelを見つけて、選択します。Maker Channelに入ると大きなMのロゴの右側にConnectというボタンがあるので、押しましょう。
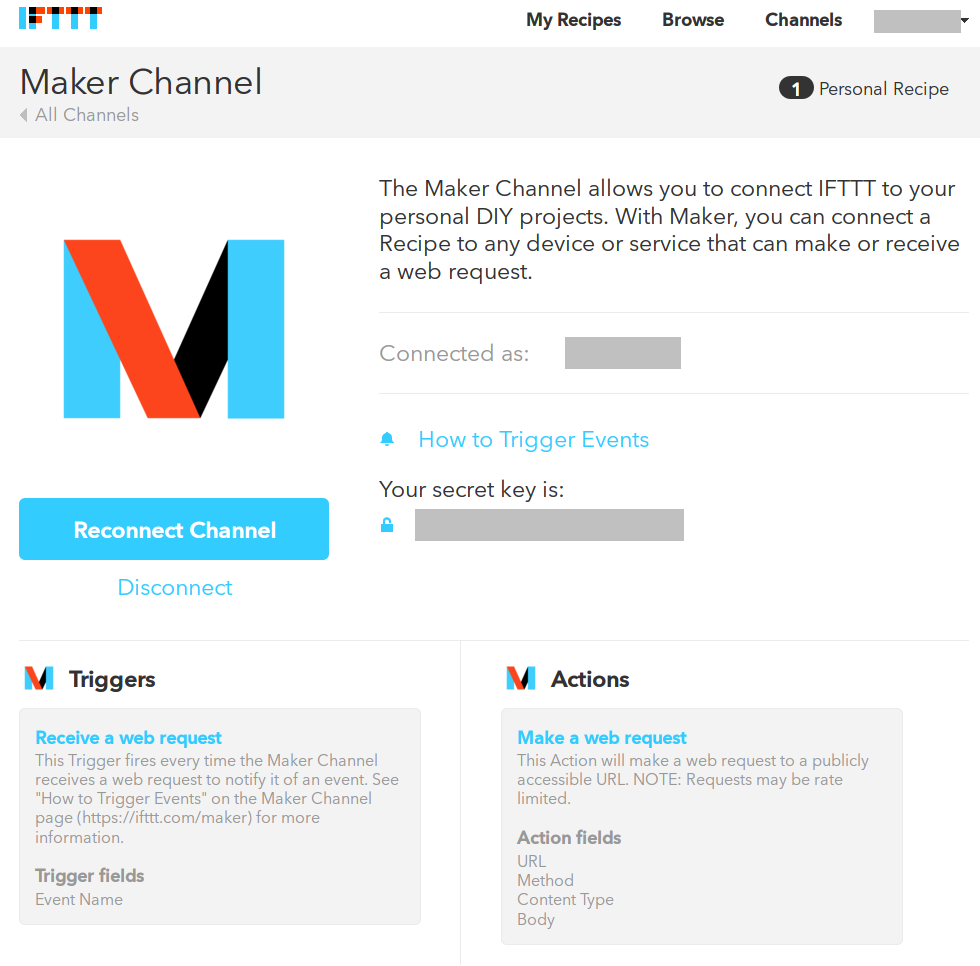
押してconnectすると下のような画面になります。注目したいのは「Your secret key is」の下に書かれている文字列です。これがあなた専用の秘密キーになので、他の人に見られないようにしましょう。
そしてその秘密キーを選択するとこのキーをどうやって使えばいいかが出てきます。
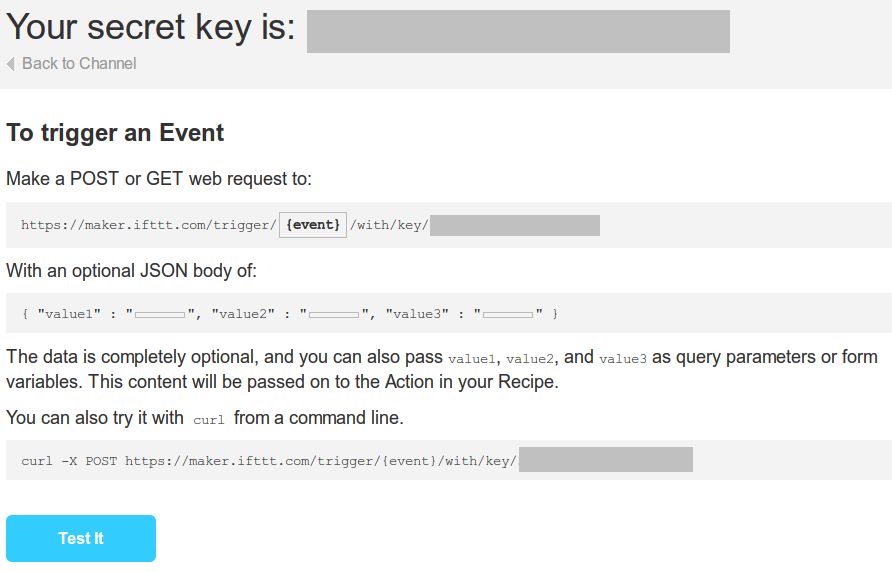
HTTPSのGETコマンドでイベントとキーを送ればいいみたいですね。HTTPSだとちょっとハードル高いなーと思ったのですが(Arduinoではしんどいですよね)、どうやらHTTPでも大丈夫みたいです。これでずいぶんハードルが下がりました。
さて、初期設定はできたのでレシピを作りましょう。今回はサンプルなのでArduinoを起動したらiOSデバイスにプッシュ通知されるレシピにします。
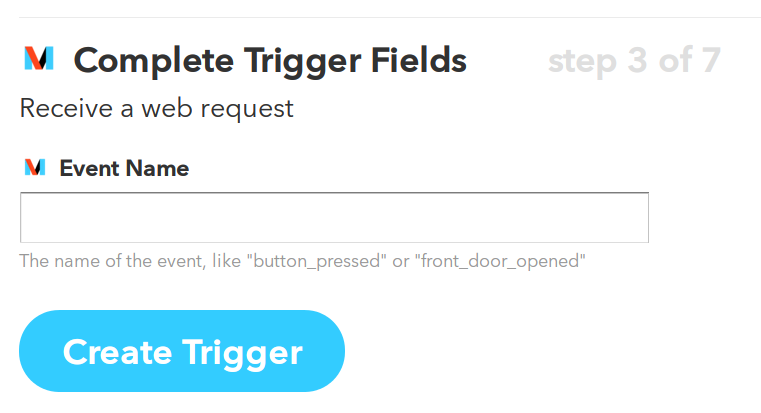
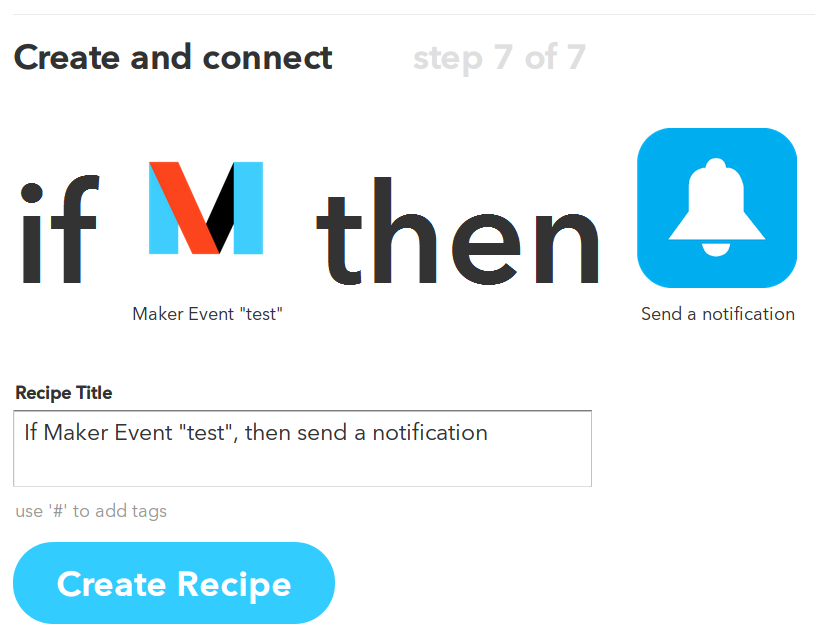
「This」でMakerを選択すると先ほどのキーの使い方画面にあったイベント名を入力する欄が出てきます。こここに入れた文字列でレシピを使い分けることができるのですね。今回は手を抜いて「test」にします。
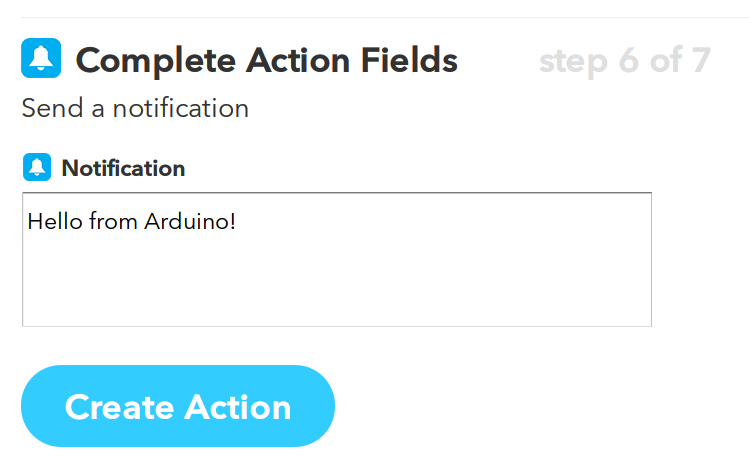
「That」にはiOS notificationsを選択します。通知内容は単純なものにしましたが、イベント名や値を送ることもできます。(後述)
全部入力したらレシピの完成です。「Create Recipe」ボタンを押して保存しましょう。
今度はArduino側のスケッチを書かないといけません。Arduinoはネットワークにつながる必要があるので、新製品のArduino Leonardo Ethernetにしました。
スケッチはEthernet2ライブラリのサンプルをちょっと改造して、DHCPでIPアドレスを設定した後にIFTTTに対してメッセージを送っています。リセットしてから1回しか実行しないので、loop()の中身はありません。
変更する必要があるのは
- 24行目のボードのMACアドレスの設定
- 37,38行目のIFTTTの設定
- 76行目の送る文字列の生成
の3ヶ所でしょうか。
ここでは簡単にするために省略してしまいましたが、3種類までの値を同時に送ることができます。
今回は
"GET http://maker.ifttt.com/trigger/{event}/with/key/{secret-key} HTTP/1.1"
という文字列を送っていますが({event}と{secret-key}はそれぞれイベント名と秘密キーに置き換えてください)、これを
"GET http://maker.ifttt.com/trigger/{event}/with/key/{secret-key}?value1={val1}&value2={val2}&value3={val3} HTTP/1.1"
にすればOKです。値は数字だけでなく文字列でも大丈夫。
3つまで値を送れるので、温湿度気圧センサの値を送るなんてのもいいかもしれないですね。大変そうなので触れませんでしたが、MakerチャンネルはThisだけでなくThat側にもなれるので、そちらも活用するとさらにいろいろなことができるようになると思います。それではお楽しみください!
/*
IFTTT 'This' sample Sketch
This version attempts to get an IP address using DHCP

Circuit:
* Ethernet shield attached to pins 10, 11, 12, 13

created 24 Jun 2015

by Shinichi Ohki
Based on
DHCP Chat Server by Tom Igoe
ChatServer example by David A. Mellis

*/

#include <SPI.h>
#include <Ethernet2.h>

// Enter a MAC address and IP address for your controller below.
// The IP address will be dependent on your local network.
// gateway and subnet are optional:
byte mac[] = {
  0x00, 0xAA, 0xBB, 0xCC, 0xDE, 0x02 // ボードのMACアドレス
};
IPAddress ip(192, 168, 1, 177); // DHCPでIPアドレスが取れなかったときのIPアドレス
IPAddress gateway(192, 168, 1, 1);
IPAddress subnet(255, 255, 0, 0);

// Initialize the Ethernet client library
// with the IP address and port of the server
// that you want to connect to (port 80 is default for HTTP):
EthernetClient client;
char server[] = "maker.ifttt.com";

// IFTTT strings
char eventName[] = "test"; // イベント名
char secretKey[] = "xxxxxxxxxxxxxxxxxxxx"; // シークレットキー
char s[128];
int val1, val2, val3;

void setup() {
  // Open serial communications and wait for port to open:
  Serial.begin(9600);
  // this check is only needed on the Leonardo:
  while (!Serial) {
    // wait for serial port to connect. Needed for Leonardo only
  }

  // start the Ethernet connection:
  Serial.println("Trying to get an IP address using DHCP");
  if (Ethernet.begin(mac) == 0) {
    Serial.println("Failed to configure Ethernet using DHCP");
    // initialize the ethernet device not using DHCP:
    Ethernet.begin(mac, ip, gateway, subnet);
  }
  // print your local IP address:
  Serial.print("My IP address: ");
  ip = Ethernet.localIP();
  for (byte thisByte = 0; thisByte & lt; 4; thisByte++) {
    // print the value of each byte of the IP address:
    Serial.print(ip[thisByte], DEC);
    Serial.print(".");
  }
  Serial.println();
  // start listening for clients
  // give the Ethernet shield a second to initialize:
  delay(1000);
  Serial.println("connecting...");

  // if you get a connection, report back via serial:
  if (client.connect(server, 80)) {
    Serial.println("connected");
    // Make a HTTP request:
    sprintf(s, "GET http://maker.ifttt.com/trigger/%s/with/key/%s HTTP/1.1", eventName, secretKey); // 送信文字列生成
    // Serial.println(s);  // 送信文字列確認(デバッグ)用
    client.println(s);
    client.println("Host: maker.ifttt.com");
    client.println("Connection: close");
    client.println();
  }
  else {
    // if you didn't get a connection to the server:
    Serial.println("connection failed");
  }
}

void loop() {
  // 起動時に一度だけメッセージを送信するだけなので、loop()内はなにもなし
}
